Perfect Homemade Banana Pudding: Creamy, Rich, Not Too Sweet
There are some desserts that evoke a powerful sense of nostalgia, a taste of comfort that transports you straight back to childhood. For many, that dessert is classic banana pudding. While quick, no-bake versions have their place, nothing quite compares to the sublime experience of a truly homemade banana pudding – one that is intensely creamy, wonderfully rich, and perfectly balanced so it’s never cloyingly sweet. This isn't just a recipe; it's an homage to a beloved classic, elevated to its most delicious potential by starting with a luscious, from-scratch vanilla pudding.
Forget the box mixes and instant gratification; embarking on the journey of making your own vanilla pudding for this dessert is simpler than you might imagine and yields exponentially superior results. The difference is palpable: a silky-smooth texture, a deeper vanilla flavor, and an overall richness that store-bought varieties simply can’t replicate. We're talking about a banana pudding so good, it might just become your family's new cherished tradition.
The Unmatched Delight of Homemade Vanilla Pudding
The heart and soul of an exceptional banana pudding lies in its vanilla pudding base. While convenience often dictates reaching for a pre-packaged mix, the truth is, crafting your own vanilla pudding from scratch is surprisingly straightforward and offers a profound upgrade in taste and texture. Imagine a pudding that’s so luxuriously smooth it melts in your mouth, its vanilla notes singing in harmony with the sweet bananas and delicate wafers. This is the difference homemade makes.
The process begins with a foundation of egg yolks, sugar, cornstarch, and milk. This combination forms the backbone of your creamy creation. Cornstarch acts as the thickening agent, giving the pudding its desired consistency, while egg yolks contribute to its richness and velvety mouthfeel. The crucial step that often intimidates home cooks is tempering the egg yolks. This technique involves slowly whisking a small amount of hot milk into the egg yolk mixture before combining everything on the stove. Why temper? It's a culinary safeguard, gently raising the temperature of the delicate egg yolks to prevent them from scrambling when they meet the heat, ensuring your pudding remains perfectly smooth and creamy.
Once tempered, the entire mixture returns to the saucepan, where it’s heated over medium heat. Constant whisking is key here, not just to prevent sticking but to encourage even cooking and thickening. You’ll notice the mixture gradually transform, evolving from a thin liquid to a more substantial, pudding-like consistency. A classic test for doneness is the "spoon test": dip a spoon into the pudding and run your finger across the back. If the trail holds its shape, your pudding is ready. This is the moment where culinary magic happens, and your humble ingredients coalesce into something truly extraordinary.
And now for a truly transformative secret: once your pudding reaches perfection, whisk in a generous knob of salted butter. This might seem unconventional, but the butter is a game-changer. It not only adds an incredible depth of richness and glossiness but also enhances the overall creaminess, making your banana pudding outrageously delicious and utterly irresistible. The hint of salt from the butter also cleverly balances the sweetness, contributing to that desired "not too sweet" profile.
For more insights into perfecting this crucial step, you might find valuable tips in our article: Unlock the Creamiest Banana Pudding: Secrets for Homemade Perfection.
Crafting the Perfect Layers: Beyond Just Assembly
With your flawless vanilla pudding ready, the next step is building the iconic layers that define homemade banana pudding. This isn't just about stacking ingredients; it's about creating a harmonious blend of textures and flavors that develop beautifully as the dessert rests.
Choosing Your Star Components
- Fresh Bananas: The star, naturally! Opt for bananas that are ripe but still firm. They should have a few speckles of brown, indicating sweetness, but avoid overly soft or bruised bananas. Their firmness is crucial to hold up well in the pudding without becoming mushy. Slice them into even rounds, about 1/4 to 1/2 inch thick. To minimize browning, you can lightly toss them with a tiny squeeze of lemon juice, but be mindful not to overdo it, as it can affect the flavor.
- Vanilla Wafers: These delicate, buttery cookies are more than just a layer; they're an essential textural element. As they absorb the warm pudding and banana moisture, they soften into a cake-like consistency, contributing to the dessert's unique charm. The classic choice is non-negotiable for that authentic, nostalgic taste.
The Art of Layering
The traditional method for assembling banana pudding calls for pouring the pudding while it's still hot. This isn't an oversight; it’s a deliberate technique. The warmth of the pudding helps the vanilla wafers begin to soften immediately, initiating the delicious transformation that makes this dessert so comforting. Start with a layer of vanilla wafers at the bottom of your serving dish – a trifle dish, a glass baking dish, or even individual ramekins for single servings. Arrange a generous layer of sliced bananas over the wafers, then pour a third of your hot vanilla pudding evenly over the bananas and wafers.
Repeat this layering process: wafers, then bananas, then pudding. As you add each layer of pudding, gently shake the pan a little. This helps the warm, liquid pudding seep into all the nooks and crannies, ensuring every wafer and banana slice gets coated, contributing to that uniform creaminess when it's ready to serve. Finish with a final layer of pudding on top.
The Magic of Time: Why Patience is a Virtue
Perhaps the most challenging, yet crucial, step in achieving truly perfect homemade banana pudding is the wait. Once assembled, the pudding needs time – ideally overnight – to fully transform. This isn't just about cooling; it's about magic.
First, allow your assembled banana pudding to cool down to room temperature on the counter. This prevents condensation from forming in the fridge, which could make the pudding watery. Once cooled, cover it tightly with plastic wrap and transfer it to the refrigerator. The preferred "overnight" chill, typically 8 hours or more, is paramount for several reasons:
- Flavor Melding: During this extended refrigeration period, the flavors have ample time to meld and deepen. The vanilla, banana, and butter notes integrate seamlessly, creating a more harmonious and complex taste profile.
- Texture Transformation: This is where the vanilla wafers truly shine. They absorb the moisture from the pudding and bananas, softening beautifully into a tender, cake-like layer that's integral to the pudding's charm. Without this time, they remain crisp, detracting from the desired consistency.
- Pudding Setting: The pudding itself needs time to fully set and firm up. While it may look ready when hot, refrigeration ensures it achieves that perfectly scoopable, creamy texture without being too loose.
We understand that waiting can be agonizing, especially when the aroma of fresh banana pudding fills your kitchen! If you absolutely can't wait the full 8 hours, aim for at least 4-6 hours. However, trust us when we say that an overnight chill is truly worth every minute for the ultimate flavor and texture experience.
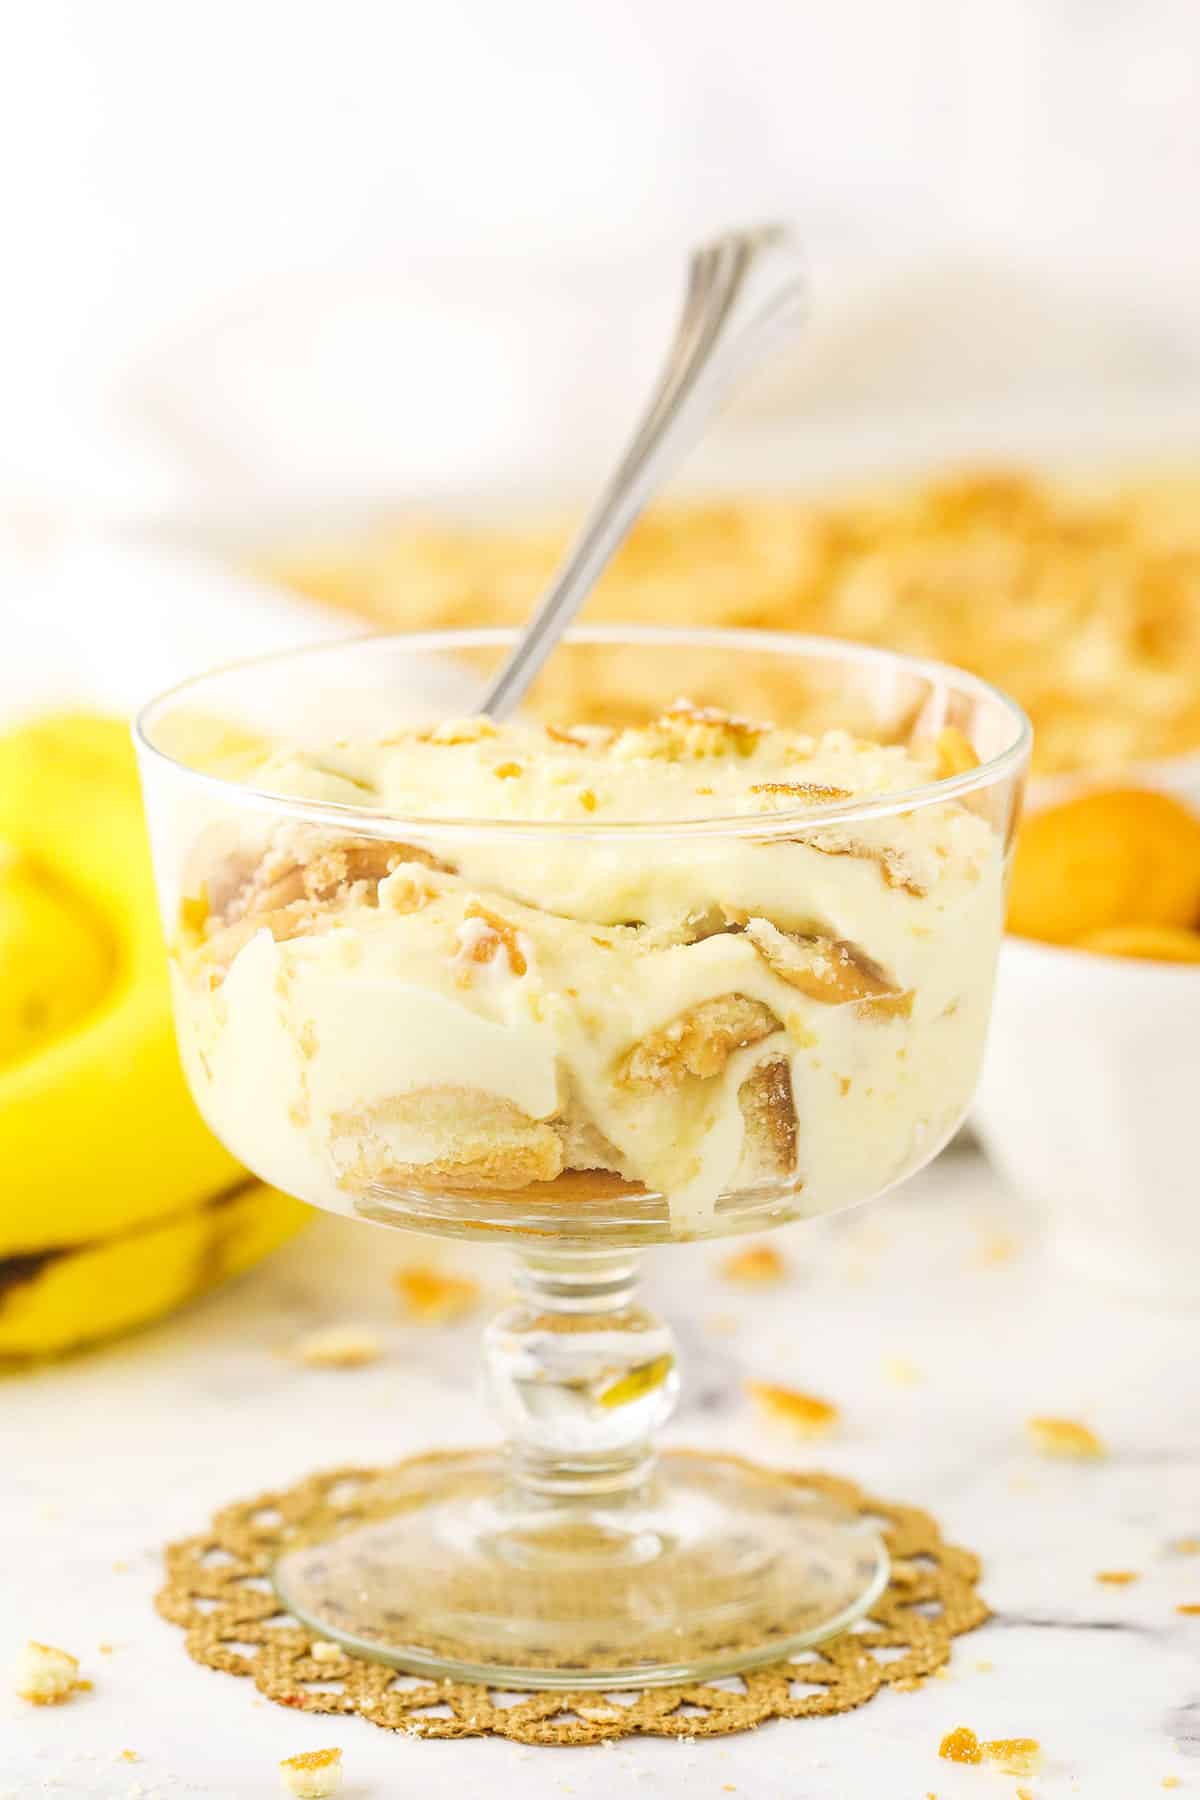
Serving Your Masterpiece
When you're finally ready to serve, your banana pudding will be chilled, firm, and bursting with flavor. While delicious on its own, a crown of freshly whipped cream adds another layer of indulgence and a beautiful visual contrast. A sprinkle of crumbled vanilla wafers or a few extra banana slices as garnish completes the picture. Whether served from a grand trifle dish at a family gathering or in individual portions, this classic dessert is guaranteed to elicit smiles and satisfied sighs. Its ease of preparation (despite the wait!) and universal appeal make it an ideal choice for potlucks and parties. For those who enjoy the simplicity of a dessert that doesn't require an oven, you might also enjoy exploring options like Easy No-Bake Banana Pudding: A Classic Crowd-Pleasing Dessert, though the scratch-made pudding truly elevates this version.
Conclusion
There's a reason homemade banana pudding has endured as a beloved classic for generations. It's a dessert that speaks of comfort, family, and simple pleasures. By taking the small extra step of making your vanilla pudding from scratch, you transform a well-loved treat into something truly extraordinary – a creamy, rich, and perfectly balanced delight that's never too sweet. This recipe isn't just about following instructions; it's about creating a moment, a memory, and a taste experience that will be cherished. So, gather your ingredients, embrace the process, and prepare to fall in love with the perfect homemade banana pudding all over again.
