The Allure of Easy No-Bake Banana Pudding: A Timeless Treat
There are some desserts that evoke instant nostalgia, bringing back memories of family gatherings, potlucks, and sweet, simple pleasures. Banana pudding is undoubtedly one of them. This classic, crowd-pleasing dessert, with its irresistible layers of creamy vanilla pudding, fresh ripe bananas, and crisp vanilla wafers, has charmed generations. While the thought of homemade pudding might seem daunting, the truth is, creating an utterly delicious and satisfying no-bake banana pudding is far easier than you might imagine, and the results are infinitely superior to any store-bought alternative.
The beauty of a no-bake banana pudding lies in its simplicity and the delightful contrast of textures. It's a dessert that requires no oven, making it perfect for warmer months or when you simply want to free up your oven for other culinary adventures. Whether you opt for a fully scratch-made pudding base or a semi-homemade shortcut, the assembly is quick, intuitive, and incredibly rewarding. Get ready to impress your friends and family with a dessert that's not just food, but a warm, comforting hug in a bowl.
Crafting Your Creamy Dream: The Pudding Base
While the title emphasizes "no-bake," it’s important to clarify that this refers to the *assembly* of the dessert, not necessarily the preparation of every component. The heart of any great banana pudding is its rich, velvety vanilla pudding, and making it from scratch on the stovetop is a game-changer. It elevates the entire dessert from good to truly extraordinary. And guess what? It’s much simpler than you might think!
Homemade Vanilla Pudding: The Secret to Superiority
Forget the boxed mixes; a homemade vanilla pudding offers unparalleled creaminess and depth of flavor that a powdered packet simply cannot replicate. The process is straightforward:
- Whisk the Base: You'll start by whisking together egg yolks, sugar, cornstarch, and a touch of milk. This forms the essential thickener and gives the pudding its luxurious texture.
- Temper with Warmth: Next, gently heat the remaining milk on the stovetop until it's just simmering. This hot milk is then slowly poured into your egg yolk mixture while continuously whisking. This crucial step, known as tempering, gradually raises the temperature of the eggs, preventing them from scrambling and ensuring a smooth, silken pudding.
- Cook to Perfection: Once tempered, the entire mixture returns to the saucepan over medium heat. Constant whisking is key here to prevent sticking and ensure even cooking. Within a few minutes, you’ll notice the pudding thickening. A common test for doneness is when your whisk leaves trails in the pudding, or when you can coat the back of a spoon and draw a clean line through it with your finger.
- The Secret Ingredient: Here's a tip that will truly kick your homemade pudding up a notch: once the pudding reaches the perfect consistency, whisk in a generous knob of salted butter. The salted butter not only adds an incredible richness and a silky mouthfeel but also a subtle depth of flavor that balances the sweetness beautifully. It’s a small addition with a huge impact, making your banana pudding outrageously delicious and creamy. For more insights on achieving that perfect texture, check out our article: Unlock the Creamiest Banana Pudding: Secrets for Homemade Perfection.
The entire process for making the pudding from scratch takes surprisingly little time, and the reward is a truly magnificent base for your dessert.
The "Easier" Pudding Shortcut (If Time is Truly of the Essence)
While we champion homemade, we understand that "easy" sometimes means minimal effort. If stovetop pudding isn't in the cards, you can opt for a high-quality instant vanilla pudding mix. Just be sure to prepare it according to package directions, perhaps using whole milk for extra richness. However, for the ultimate experience, we strongly encourage the homemade route!
Assembling Your Masterpiece: Layers of Delight
Once your pudding is prepared (and still warm if homemade, which helps it meld with the other ingredients), the real "no-bake" magic happens: layering! This is where the classic elements come together to create the harmonious blend of flavors and textures that defines this beloved dessert.
The Essential Ingredients
- Fresh Bananas: Choose ripe, but not overly mushy, bananas. They should be sweet but still firm enough to hold their shape. Slightly under-ripe bananas can be starchy, while overripe ones turn brown too quickly and become overly soft.
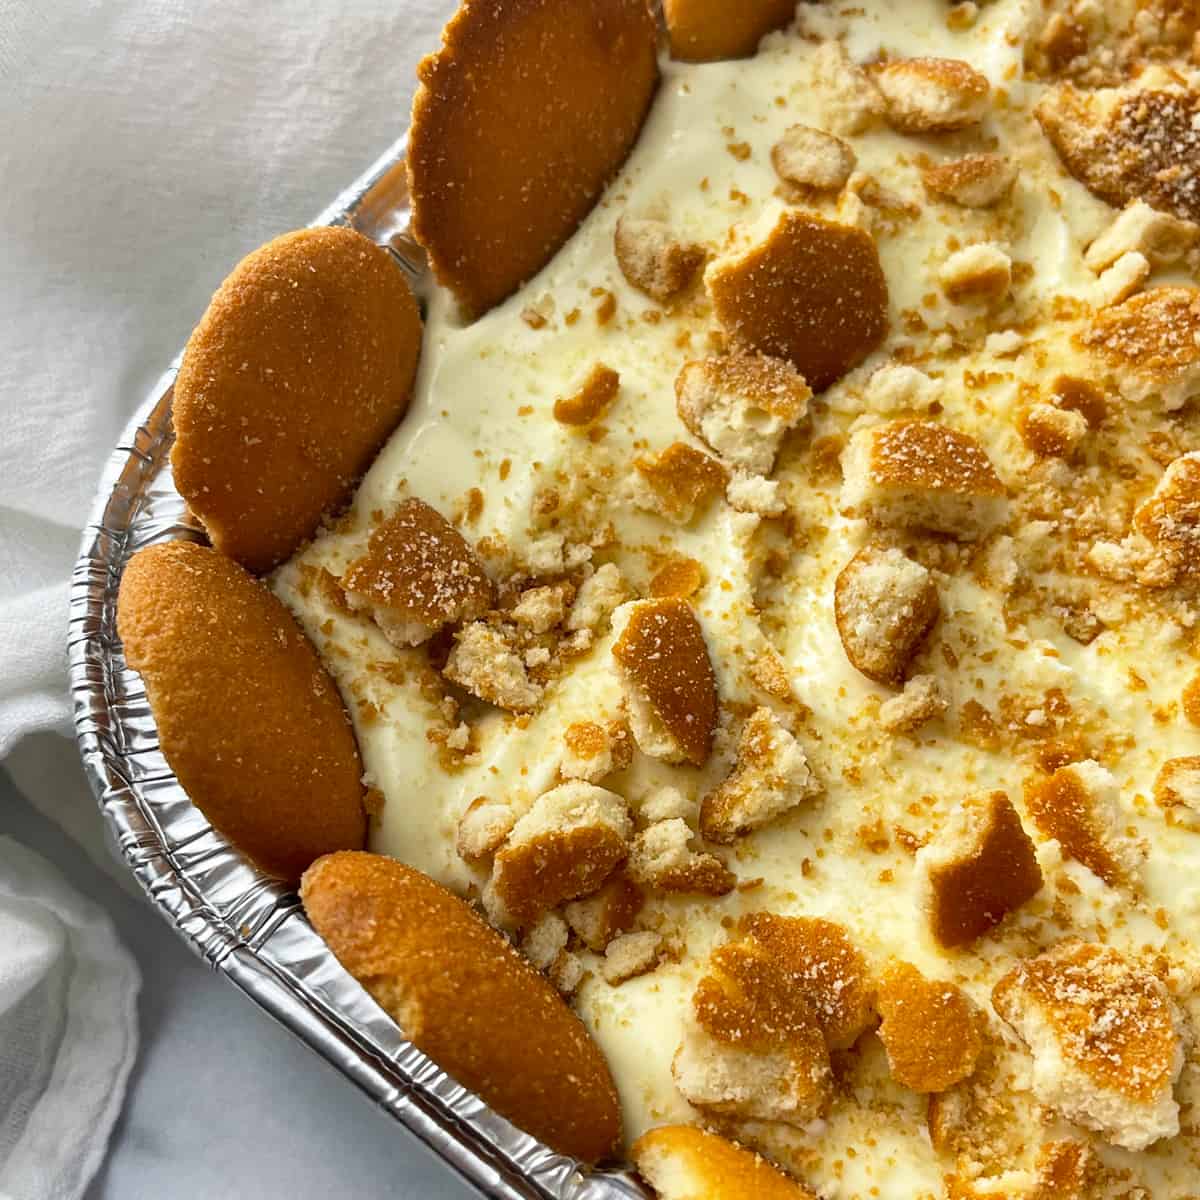
- Vanilla Wafers: These iconic, crispy cookies are non-negotiable. They provide a satisfying crunch that softens over time as they absorb the pudding, creating a delightful cake-like texture.
- Homemade or Instant Vanilla Pudding: The star of the show, as discussed above.
Layering for Success
The beauty of easy banana pudding is that there's no single "right" way to layer, but a classic approach works best:
- First Layer of Wafers: Start with a single layer of vanilla wafers covering the bottom of your chosen dish. A trifle dish showcases the layers beautifully, but a 9x13-inch baking dish or even individual serving cups work wonderfully.
- Banana Slices: Arrange an even layer of freshly sliced bananas over the wafers. Don't slice them too thin, as they'll soften considerably.
- Pour Over Pudding: Generously spoon or pour about a third of your warm pudding over the bananas and wafers. If your pudding is homemade and still warm, give the dish a gentle shake to help the pudding settle into all the nooks and crannies. This ensures every bite is enveloped in creamy goodness.
- Repeat: Continue layering wafers, bananas, and pudding until all ingredients are used, finishing with a final layer of pudding on top.
Cover your assembled dessert tightly and allow it to cool to room temperature before transferring it to the refrigerator. This crucial chilling period allows the flavors to meld, the pudding to set, and the wafers to soften to that perfect cake-like consistency.
Tips for Banana Pudding Perfection and Serving
Achieving that perfectly creamy, flavorful banana pudding is simple with a few insider tips:
- Chilling is Key: While tempting to dive in immediately, the secret to truly outstanding banana pudding is allowing it to chill, ideally overnight, or for a minimum of 6-8 hours. This allows the pudding to fully set, the bananas to sweeten, and the wafers to achieve their signature soft texture. Patience truly pays off here!
- Banana Ripeness Matters: As mentioned, choose bananas that are ripe but firm. To prevent excessive browning, you can lightly toss your banana slices in a tablespoon of lemon juice, though this might slightly alter the flavor profile. For a classic taste, simply use fresh, ripe bananas and aim to serve within 24-48 hours.
- Presentation Power: While a simple dish is delicious, a glass trifle bowl beautifully displays the layers, making your easy banana pudding an eye-catching centerpiece for any gathering. For individual servings, layer the ingredients in small mason jars or clear dessert cups.
- Topping it Off: Just before serving, consider adding a cloud of freshly whipped cream to the top. A sprinkle of crumbled vanilla wafers or a few extra banana slices makes for a delightful garnish.
- Make-Ahead Marvel: This dessert is a fantastic make-ahead option, perfect for potlucks, parties, or any occasion where you need to prepare something in advance. Its flavors deepen and its texture improves with time in the fridge.
Why This Classic Crowd-Pleaser Never Fails
The enduring popularity of no-bake banana pudding isn't just about its delicious taste; it's also about its undeniable ability to bring people together. It’s a dessert that appeals to all ages, from toddlers to grandparents. Its creamy texture and familiar flavors make it a comforting end to any meal, and its ease of preparation means you can focus on enjoying your guests rather than fussing in the kitchen.
Whether you’re serving it at a casual family dinner, a festive holiday gathering, or taking it to a potluck, expect rave reviews. This truly is a dessert that embodies simple elegance and pure, unadulterated deliciousness. So go ahead, whip up a batch of this easy, classic, and supremely satisfying banana pudding. Your taste buds—and your guests—will thank you!
